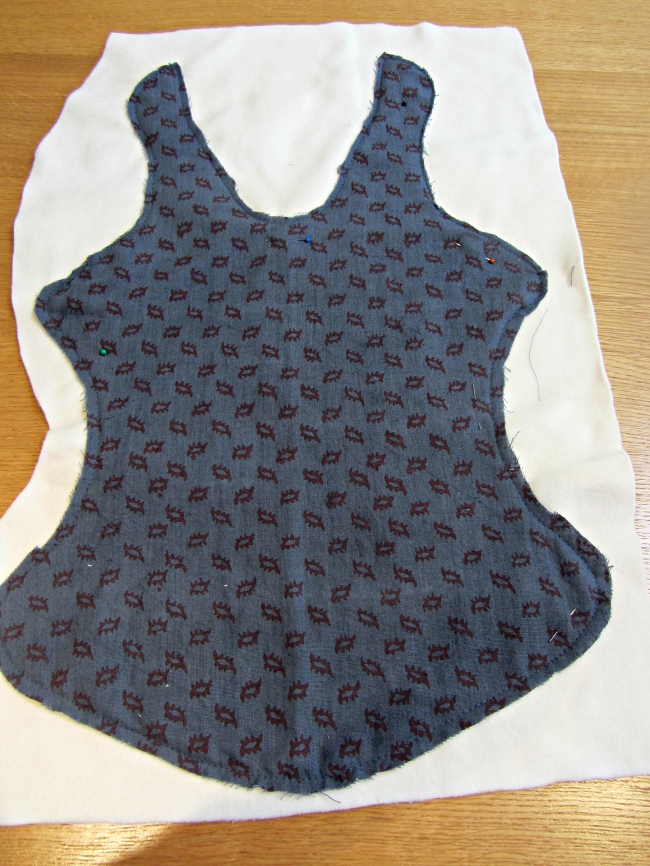
Hurrah! The dog coats are finished. The fabulous material made it a joy to design the coats. It was tempting to make them too cute with little Peter Pan collars and a little bow belt round the middle – but my daughter saw the outer fabric and said it was just too ‘heritage’ to be overly fussed over . So it was more a case of would it pass the Bloomsbury set’s high standards – and it did. The fleece is beautiful, soft, flexible, and very warm.
So this is what I did.
I measured the dogs using this template.
A – base of neck to bottom of spine.
B – centre of back to bottom of shoulder.
C – centre of back to bottom of hip.
I then made a toile from some scrap fabric and tried it on for size and comfort, and then made any adjustments to ensure a good fit and transferred these to the paper patterns.
Both the outer and inner fabric are cut to the pattern and laid together, wrong side to wrong side and then joined by basting.
The raw edges were enclosed by bias binding in a colour to complement the outer fabric. To finish the bias binding I machine stitched on the top side.
The buttons were chosen, not just for their lovely design and colour, but they were on a shank which makes them easier to button up when putting the coats in moving dogs. I made a strong buttonhole on the sewing machine with a gimp thread running through the opening to strengthen it.
I then used the herringbone tape from Offset Warehouse to add another design feature, strengthening the tape by doubling it and joining the two layers with a machine embroidery stitch in a leaf design to reflect the design on the outer fabric.
I then added a loop at the base of each coat, in the same tape and embroidery. Very useful for hanging up the dog coats with the human coats in the porch.


